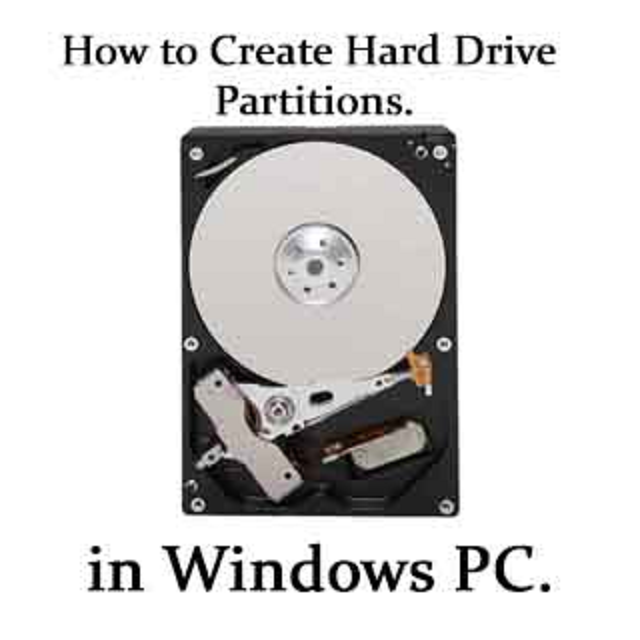
Are you also purchase a new laptop? Do you have the single drive only? Friends, Do not be panic it is very simple to Create Hard Drive Partitions or to create more drives like Drive (D), Drive (E), Drive (F) or whatever you want. You do not need any other software for Create Hard Drive Partitions. Read my previous post Difference between Windows 10 Insider Preview and Final release.
Hey guys, I welcome you at Geeabo.com, In the Geeabo community you receive a new article every day. Where I tell you some important things about the world of Internet, smartphones, PCs and more.
Now If we purchase a new laptop then in more cases there is only one drive that is drive (C). Now if someone wants to create another drive by dividing drive (C) is it possible?
So, Yes it is possible and very simple to Create Hard Drive Partitions.
Let’s get Started
How to Create Hard Drive Partitions in Windows 10
Follow the steps very carefully to Create Hard Drive Partitions and it is very as much as easy what you are thinking.
Turn On your PC.
Go to start and search “Control Panel”.
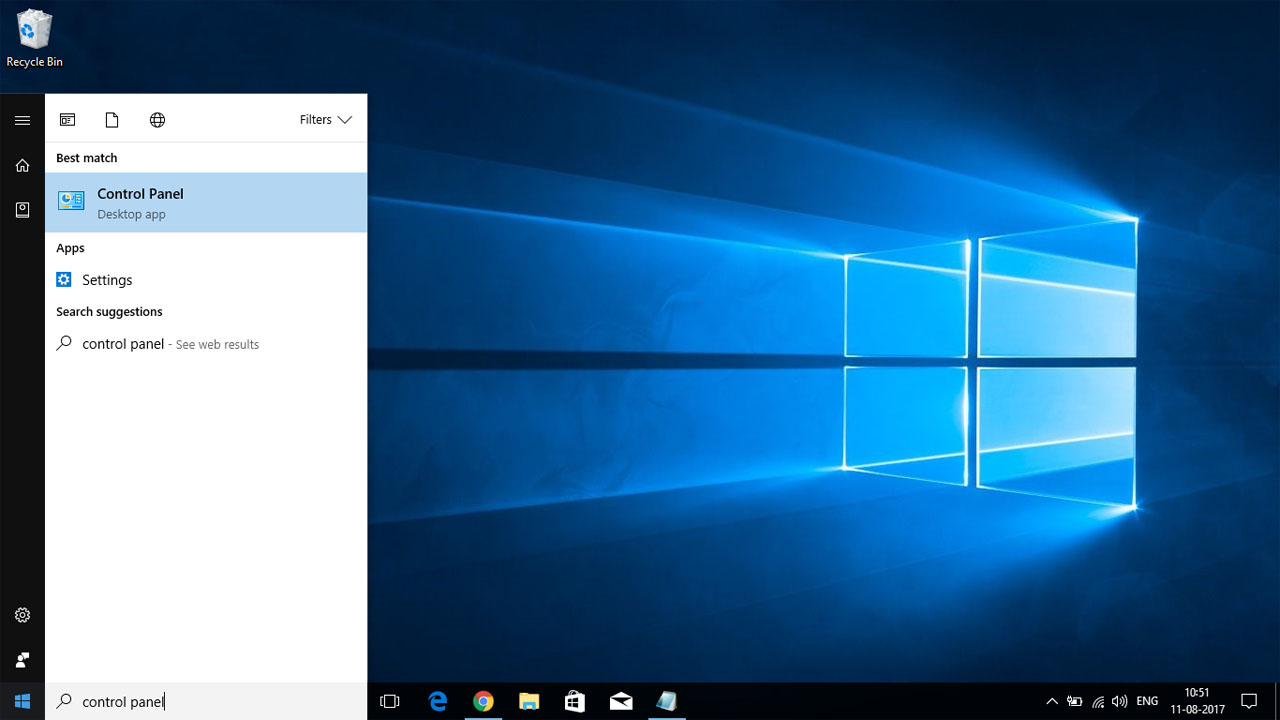
Now hit on Enter button from the keyboard and here select the first option that is “System and Security“.
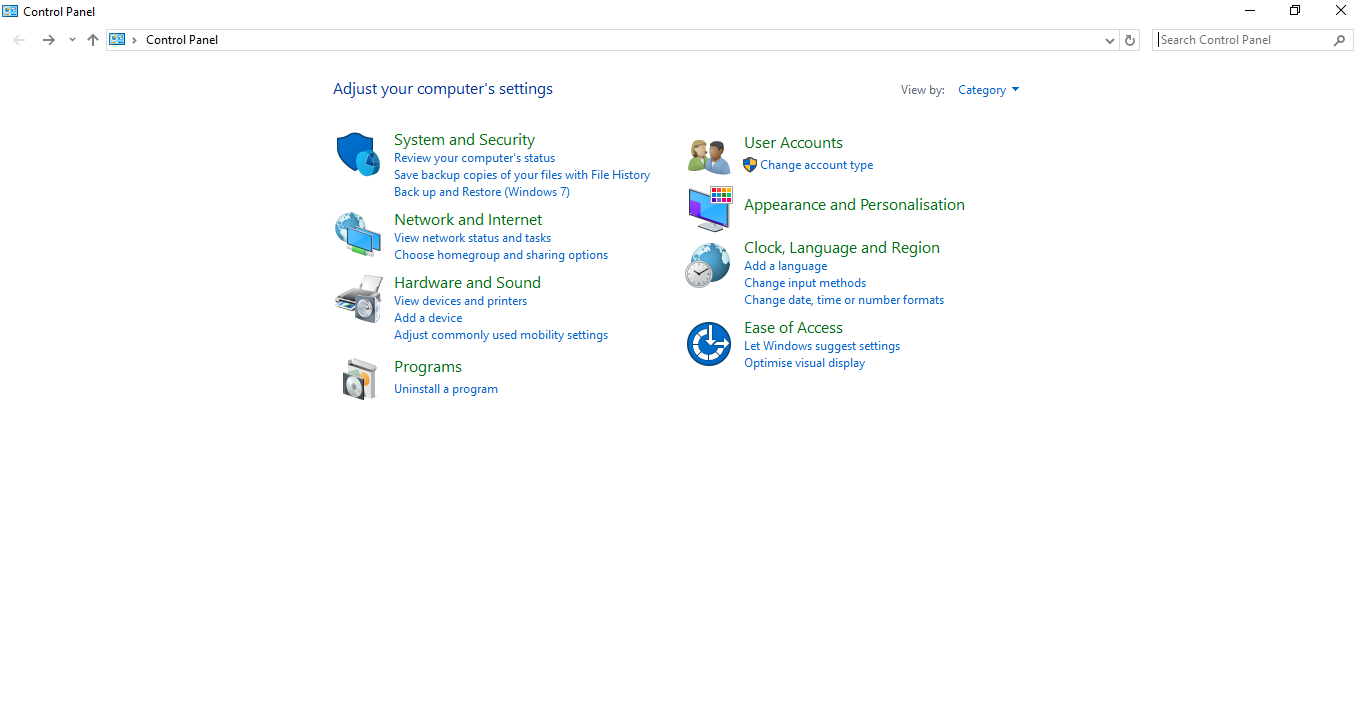
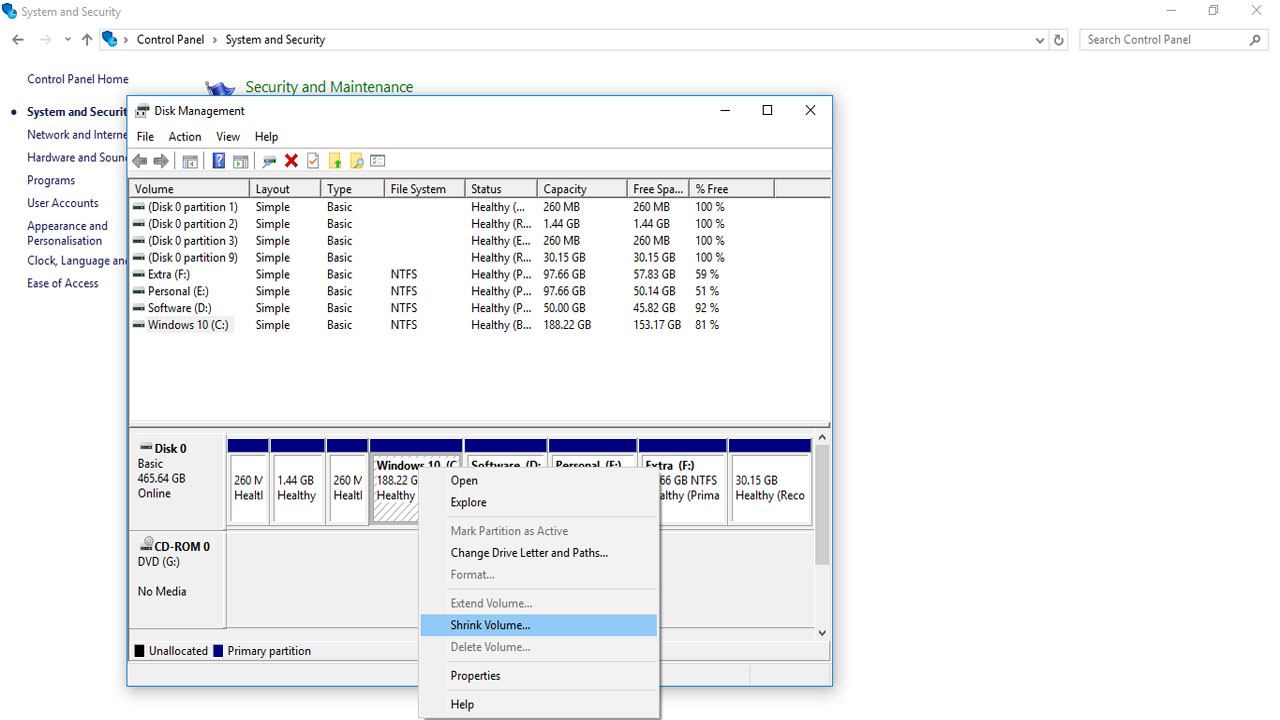
After click on “System and Security” you can see your screen like this.
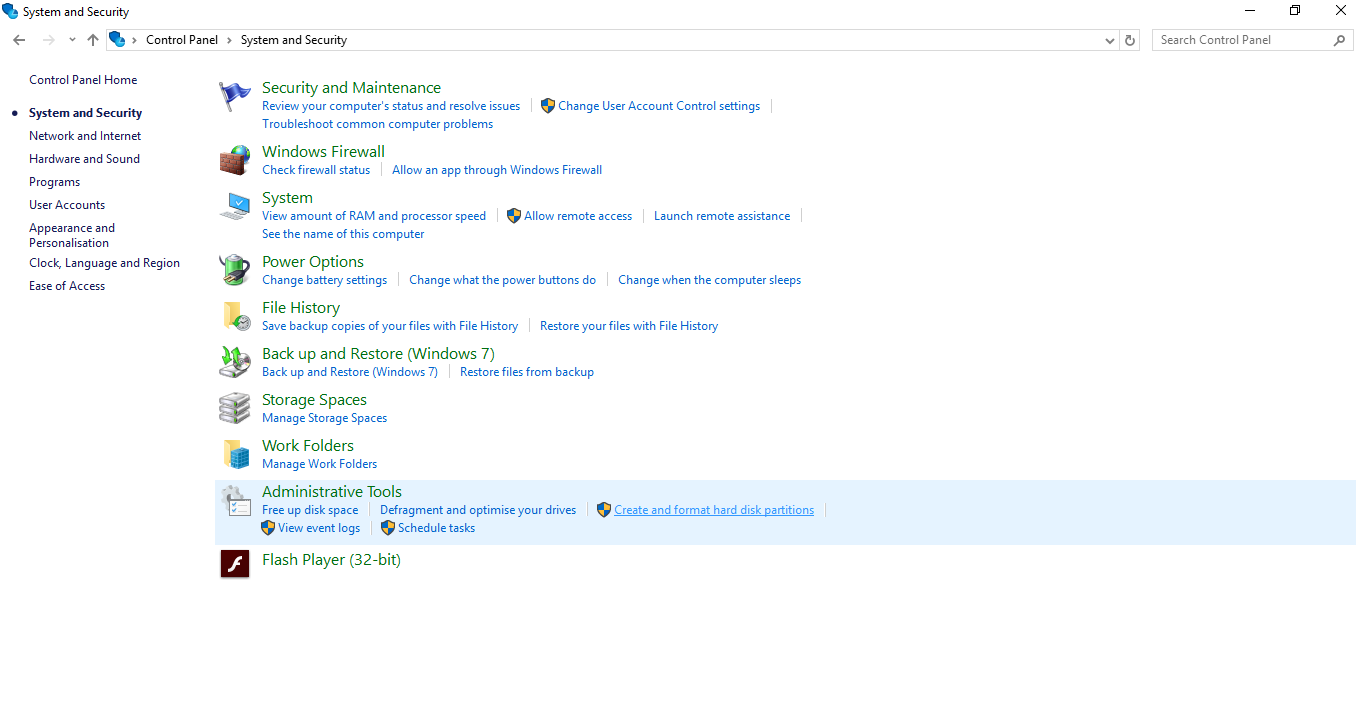
Follow the Instructions very carefully because from here main guide to Create Hard Drive Partitions.
Now click on “Create and format hard disk partitions” under “Administrative Tools“. Here, if the User Account Control window appears, select Yes.
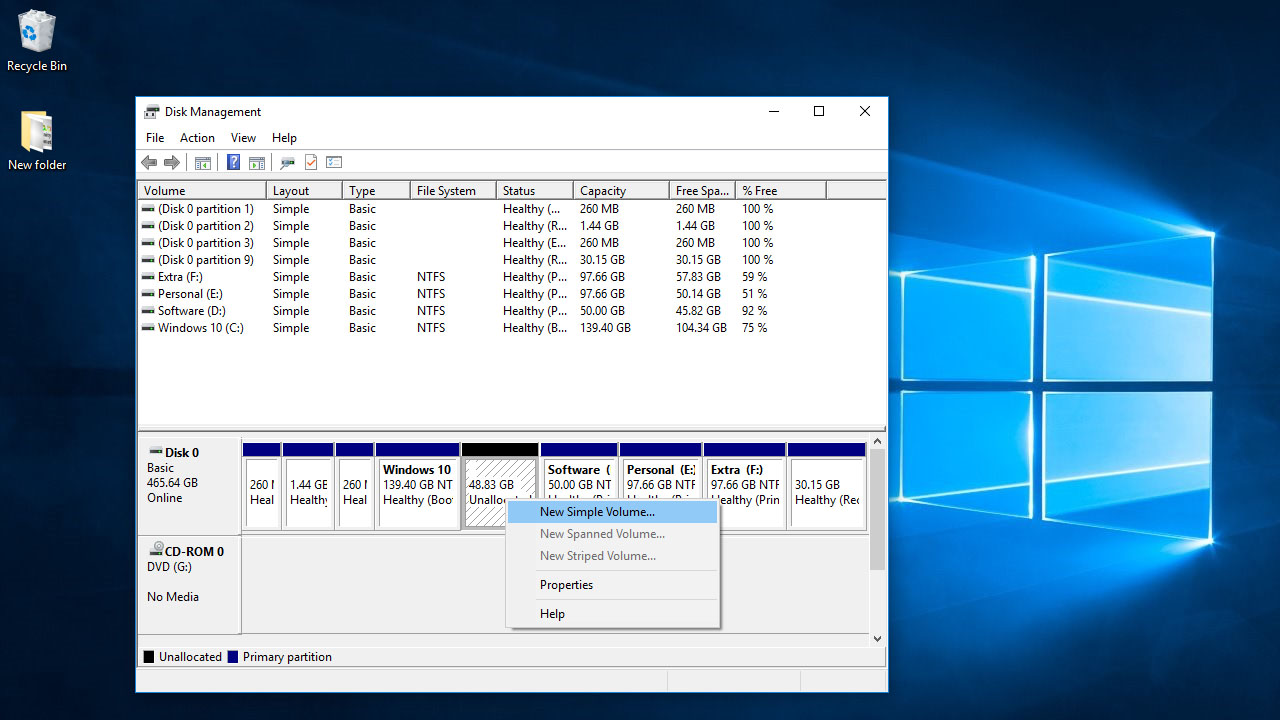
I have created some extra drives that’s why my screen is looking this this. But you do not look here and there you just need to right click on (C:) Drive and click on “Shrink Volume”.
When you click on Shrink Volume you can see your screen like this. “Querying volume for available shrink space, please wait…”.
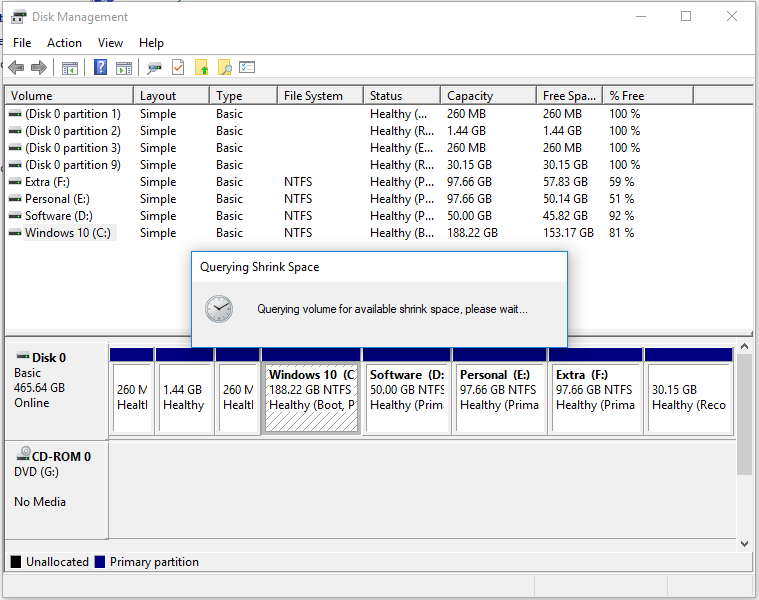
Here wait for a couple of seconds and then Enter the amount of space to shrink in MB.
So, In this case i am creating a new drive of 50 GB that’s why i am entering 50,000 MB
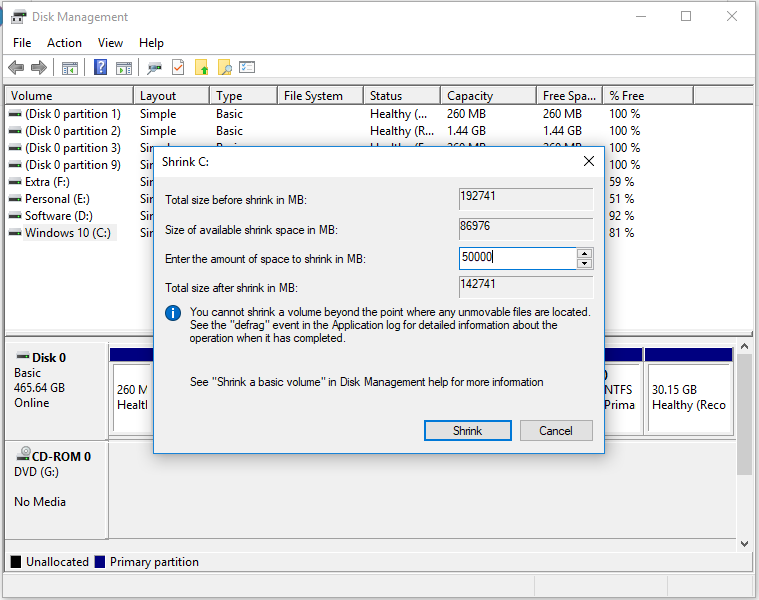
Now just simply click on “Shrink”. and wait for a couple of seconds.
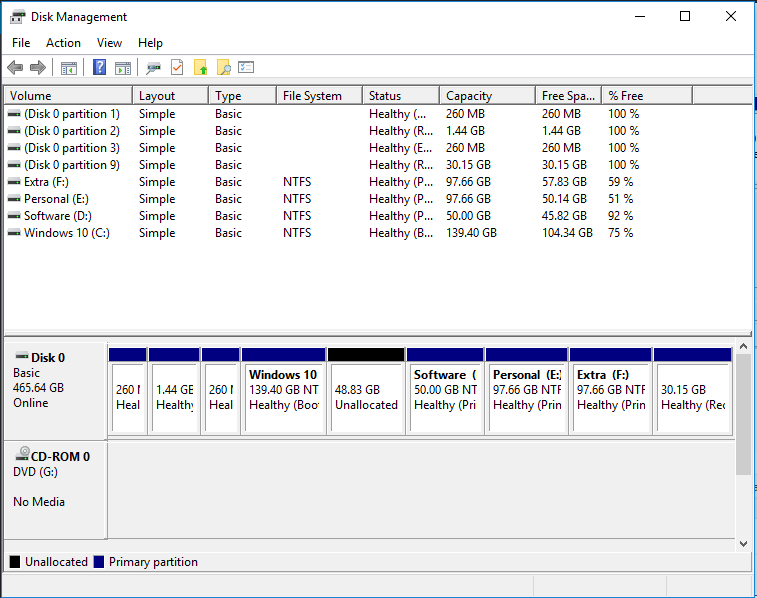
After that you can see that “48.83 GB Unallocated” showing in the next of (C:) Drive in black color.
After that right click on “Unallocated” and click on “New Simple Volume”.
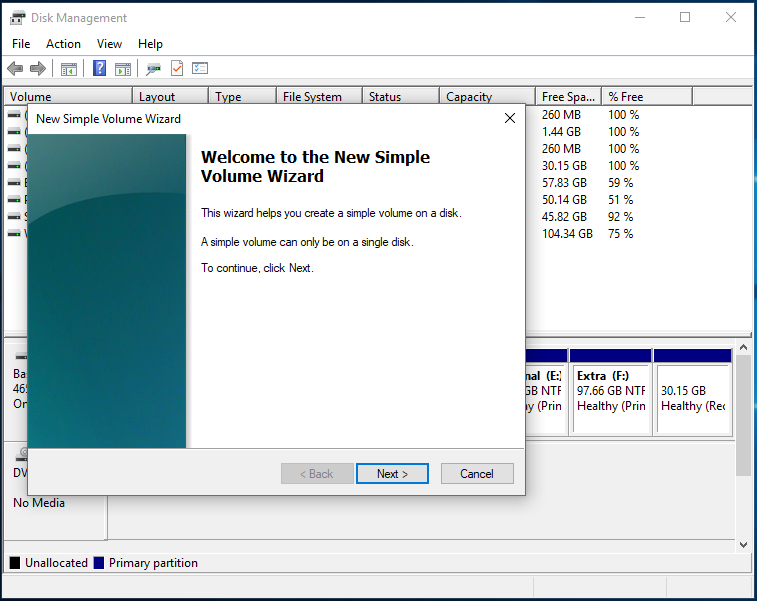
After click on “New Simple Volume” this screen will appears. Simply click on “Next”
Now a window appears “Specify Volume Size”, click on ” Next”.

Click on “Next”.
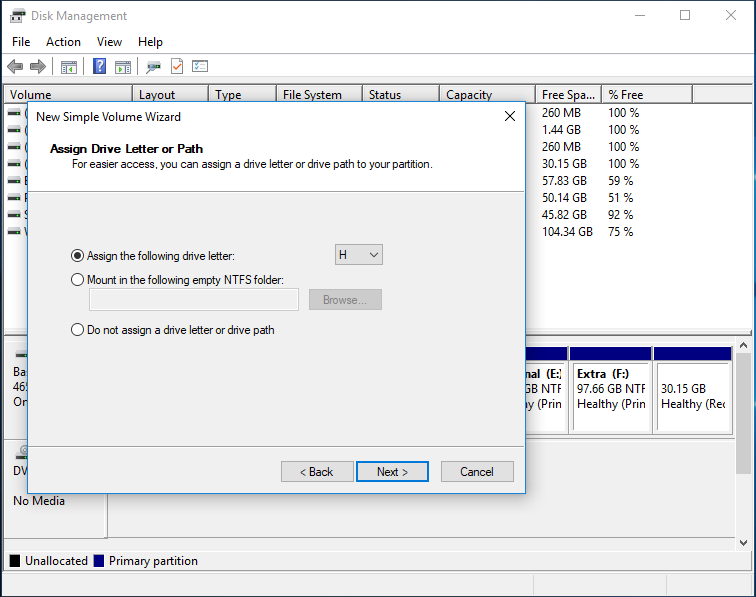
Here you can see a new window “Assign Drive Letter or Path” (Creating H: Drive) then click on “Next” again.
Click on “Next”, appears new window “Format Partition”.
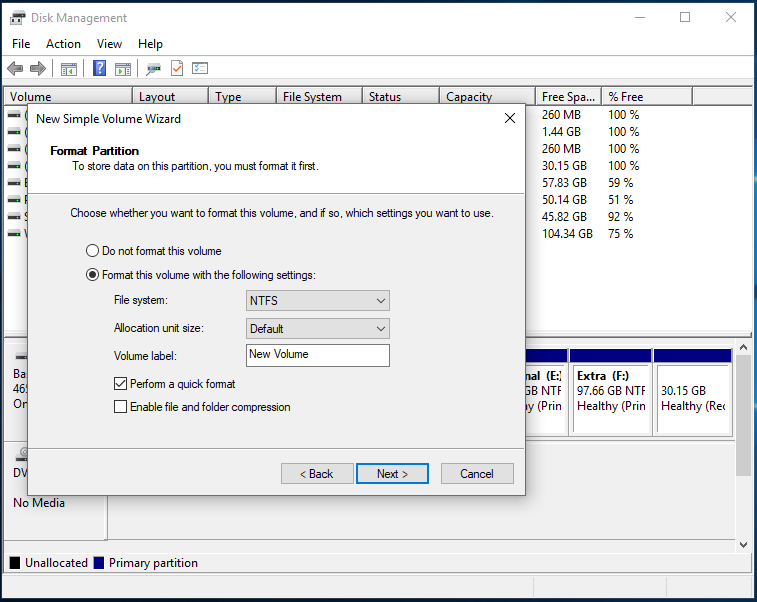
Now Click on “Next” and “Finish”.
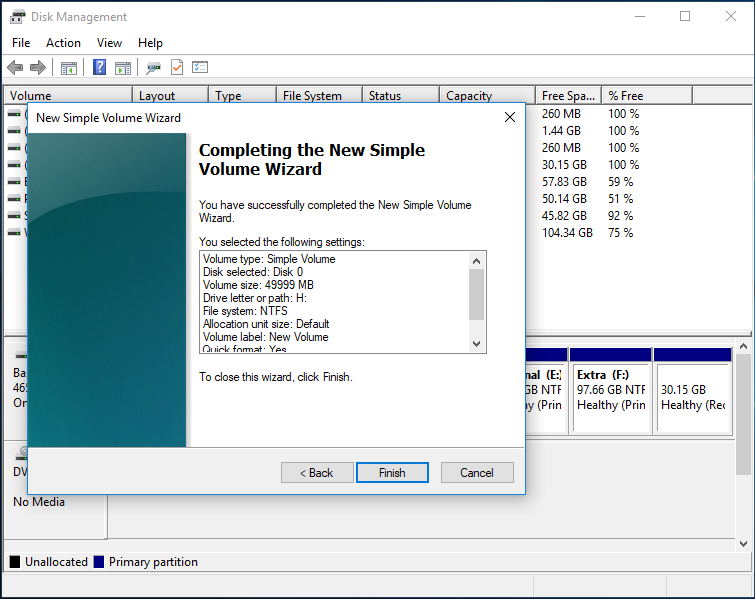
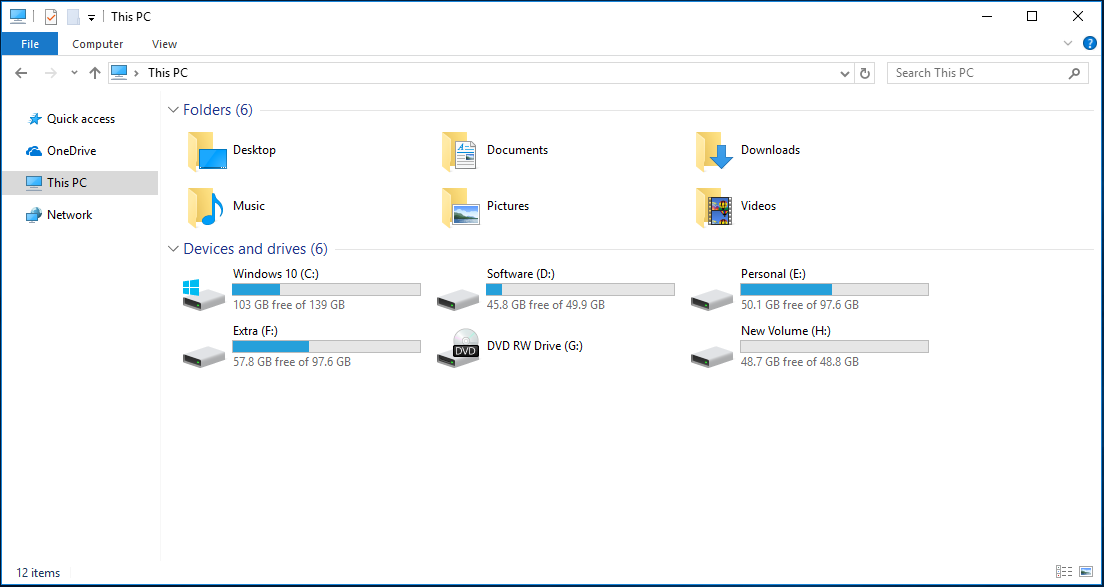
Here you can see that New Volume (H:) is created successfully.
Hope you like this article about How to Create Hard Drive Partitions in Windows 10 and you have learn something new with the help of this article. Please Do Like, Comment and Share if you really like this.
Follow Us on Twitter
If you have any question regarding this article then you can ask me in the Comment box below.