How to Make Bootable Pen Drive Using Cmd for Windows Installation. Friends, Whenever we want about fresh installation of windows to our PC then we always wants a bootable pen drive not a CD or a DVD.
Hey guys, I welcome you at Geeabo.com, In the Geeabo community you receive a new article every day. Where I tell you some important things about the world of Internet, smartphones, PCs, Inspirational articles, Social Issues and more. And I recommend you read our previous article about How to Repair Corrupted SD Card Using Command Prompt.
Why we have to Make Bootable Pen Drive Using cmd or another way.
Friends, nowadays keeping a CD or DVD is not a good deal. Because these are very fragile or delicate storage devices and these are old generation devices too. So, these are easily scratched and gets worse. So, today we will know that How to Make Bootable Pen Drive Using Cmd?
How to Make Bootable Pen Drive Using Cmd for Windows Installation?
Friends, Make bootable pen drive is quite easy so simply follow the steps carefully.
#Step 1. Insert a USB flash drive to the PC.
#Step 2. Open Command prompt. (Press Windows key+R then hit on enter)
#Step 3. Now in the Run window type cmd and hit on enter.
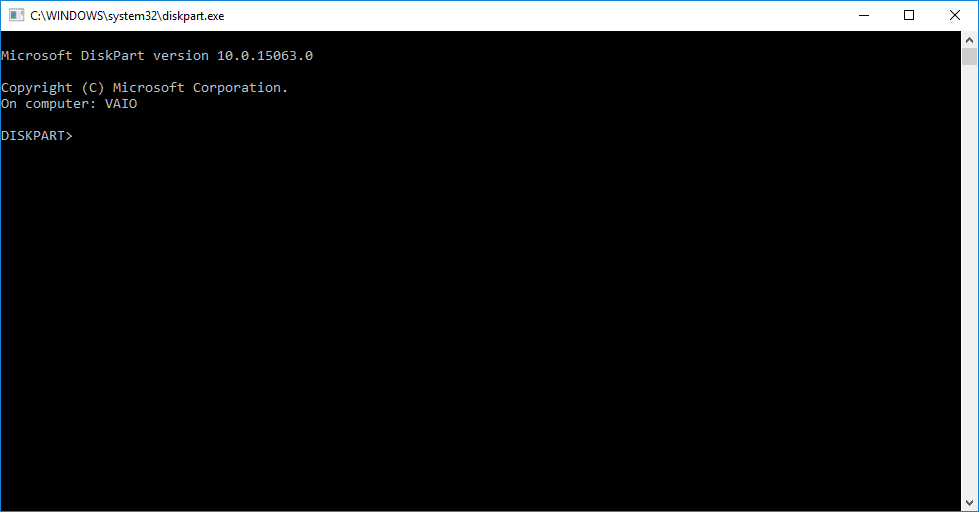
#Step 4. After that you will see your screen like this.

#Step 5. Type “disk part” and hit on enter.
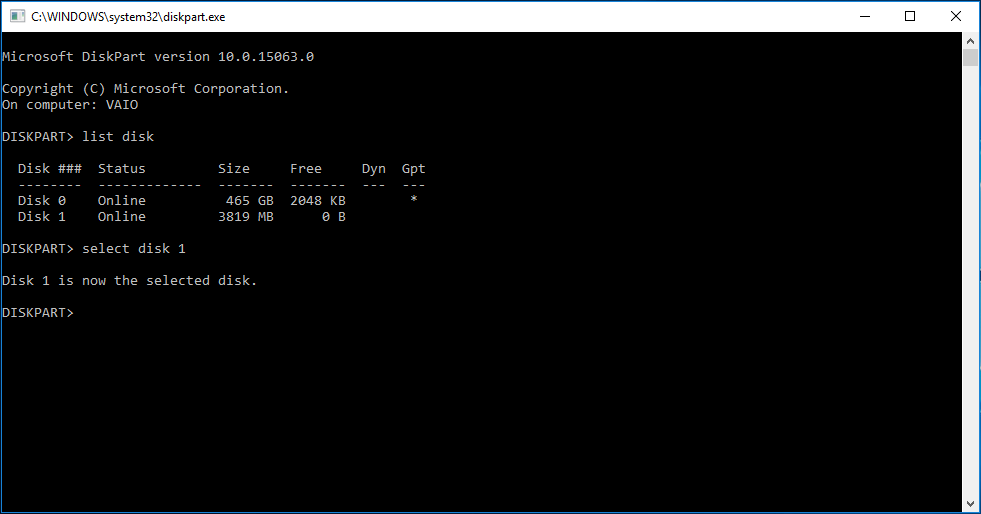
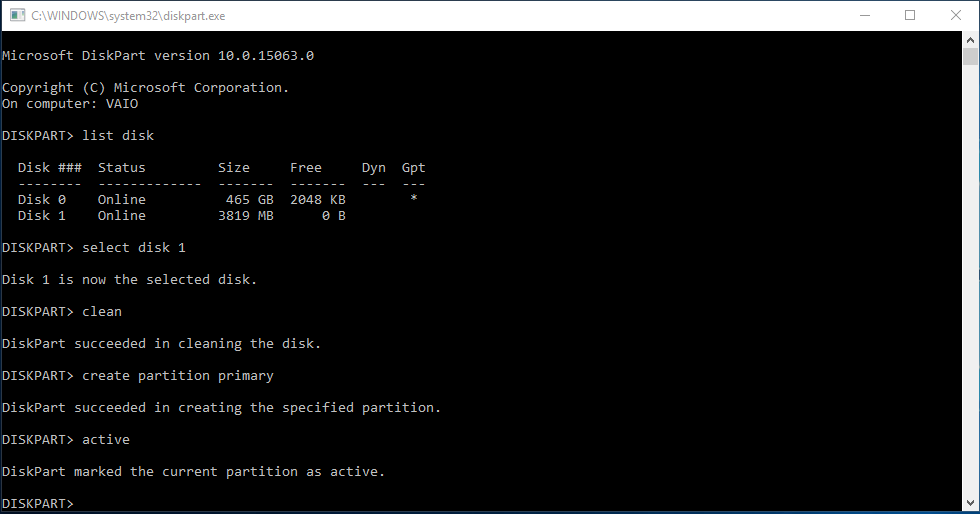
#Step 6. Now in the Command prompt window type “list disk”. The list disk command will display all the disks attached to the PC. After that type “select disk <x>” with disk number and hit on enter.
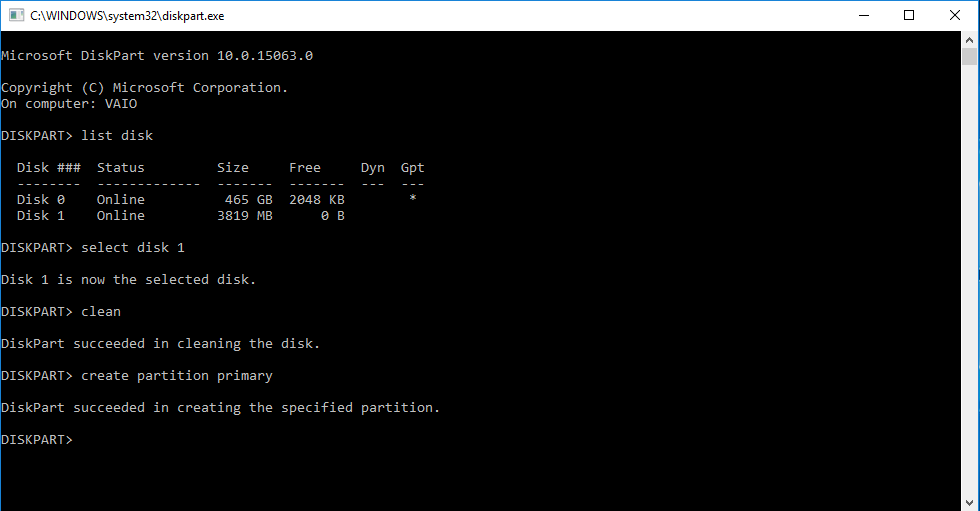
#Step 7. Type “clean”. This action will delete all your data from the pen drive. And after that type “create partition primary” and hit on enter.
#Step 8. Now to select the partition that you just created, type “select part 1′, and then click Enter and after that to format the partition simply type “format fs=ntfs” and then click Enter. This will take some time so don’t be panic just wait. And after the formatting is completed simply type “active” and hit on enter. Here I am not doing this step because I don’t want to format my pen drive now.
#Step 9. Now at last type “exit” and hit on enter.
#Step 10. When you finish preparing your custom image, save it to the root of the pen drive.
Hope you guys enjoy this article about
“How to Make Bootable Pen Drive Using Cmd for Windows Installation” and you have learn something new with the help of this article. Please Do Like, Comment and Share if you really like this.
Follow Us on Twitter
If you have any question and complaint regarding this article then you can ask me in the Comment box below.
Thanks for Visiting at Geeabo.