Many of you wants to secure Gmail by Enable Two Step Verification Gmail. Friends, do you know that how to Enable this feature?, What are the advantages of Enable Two Step Verification Gmail?
So finally, Today we will talking about all these topics but mainly How to Enable Two Step Verification Gmail ?
Hey guys, I welcome you at Geeabo.com, In the Geeabo community you receive a new article every day. Where I tell you some important things about the world of Internet, smartphones, PCs and more.
Friends, Two-Step verification is simply Two Factor Authentication. When you add this feature to your Gmail account then if somewhere you try to login to your account then it will ask you one time verification code. And this code will be sent to your registered mobile number.
What are the advantages of Enable Two Step Verification Gmail?
So, friends if you Enable Two Step Verification Gmail then your Gmail account will be more secure and hacker can not hack your account. Nowadays this feature is very important for all of us. Mainly who use his/her Gmail account for sending and receiving very important files, documents, etc. And I recommend you to secure your Gmail account by enabling Two Factor Authentication and friends this is free.
How to Enable Two Step Verification Gmail?
First of all, Login to your Gmail account. If you do not have your Gmail account then read my previous article How to Create Gmail Account Step by step (Full Guide). But here now come to the point and lets know about enabling two-step verification in Gmail account.
Finally here is Steps to Enable Two Step Verification Gmail.
Step 1. Go to the browser and open Gmail or simply click on the link https://accounts.google.com/.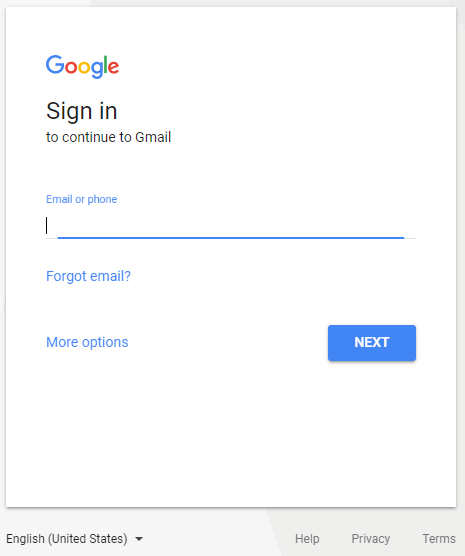
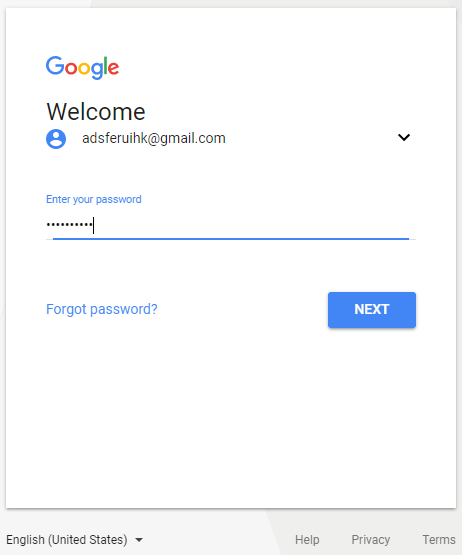
Step 2. Enter Email ID and Password and click on Next.
Step 3. Now you will come to the Main Page of your Gmail account.
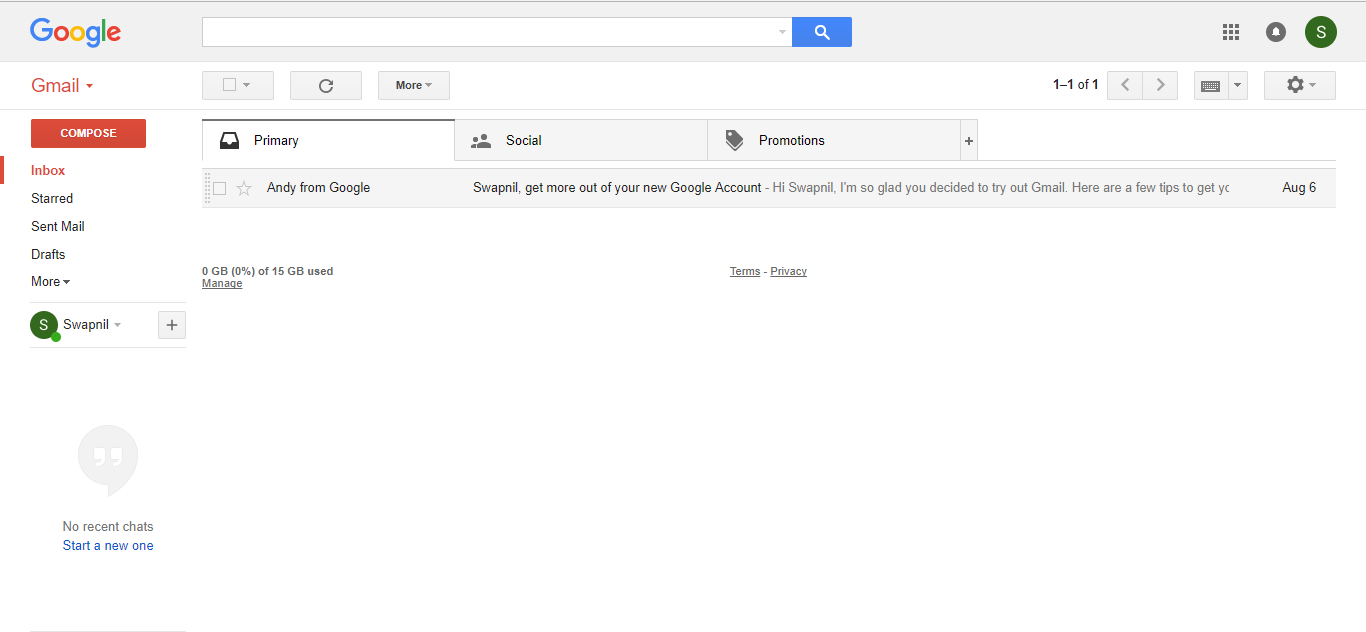
Step 4. Now go to the Google Menu in the top right of the screen.

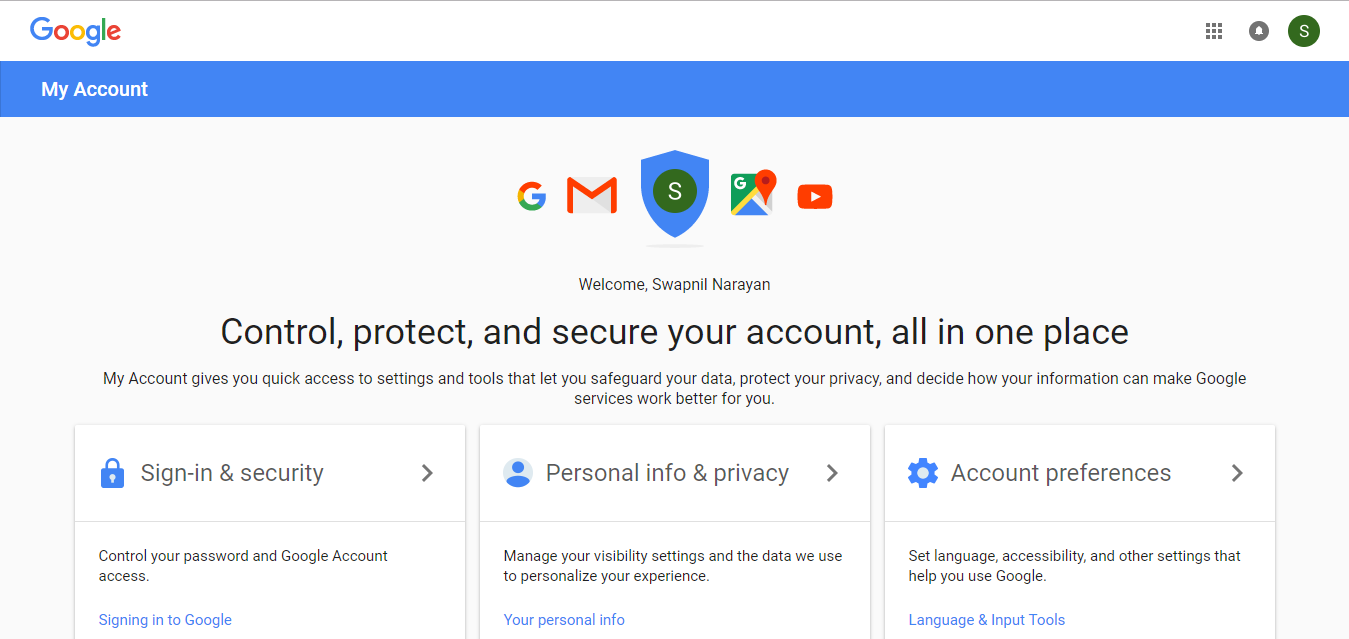
Step 5. After click on Google Apps Menu then click on the first option that is “My Account”.
Follow
Step 6. In the above Screen Shot you can three options given. Now you have to go to first option that is “Sign-in & security”. After click on the first option simply scroll down and you can see options like this. “How to Enable Two Step Verification Gmail”
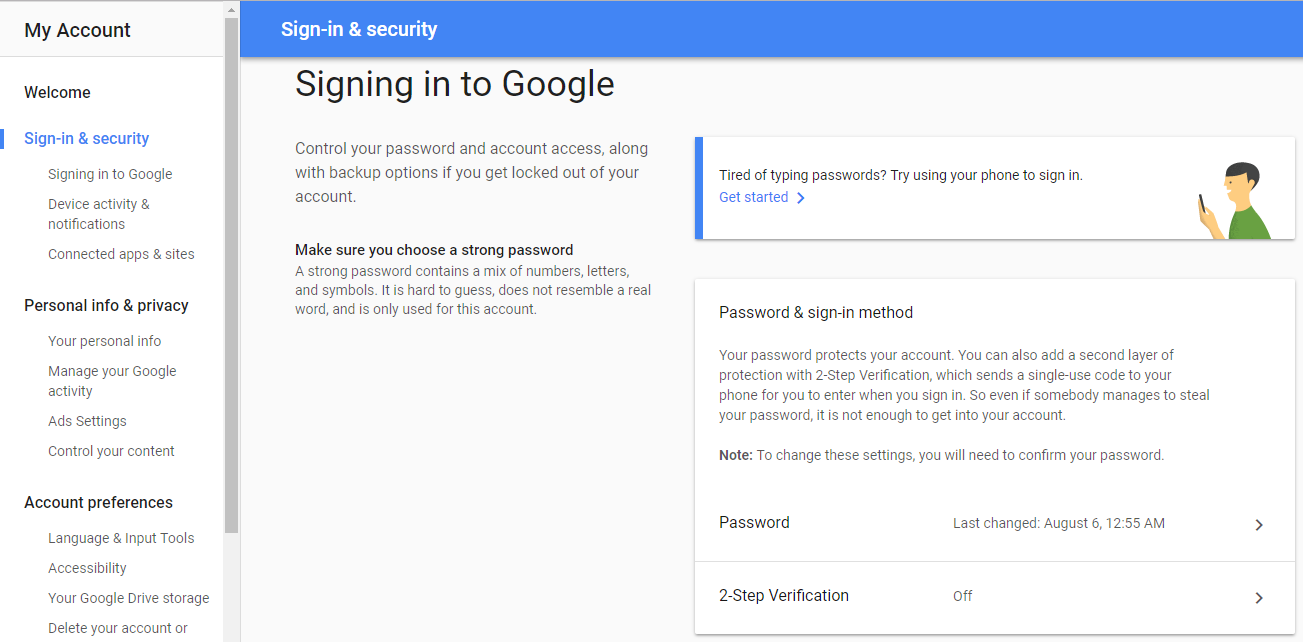
Step 7. Now click on the 2-Step Verification.
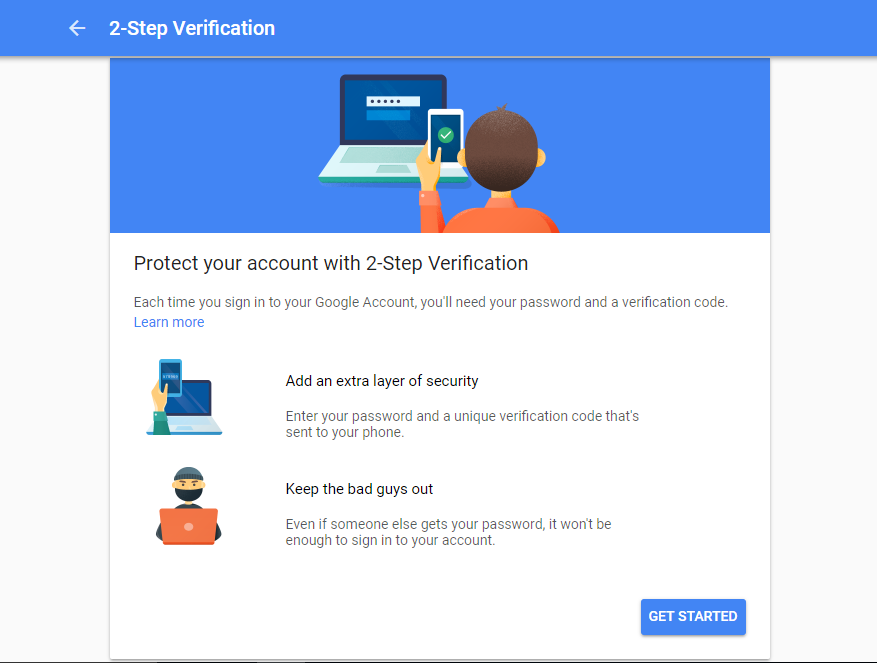 Step 8. Here you can see Protect your account with 2-Step Verification. Click on Get Started. Now To continue, first verify it’s you. Enter your Gmail password again.

Step 10. Enter Your Gmail Account password again to verify its you.
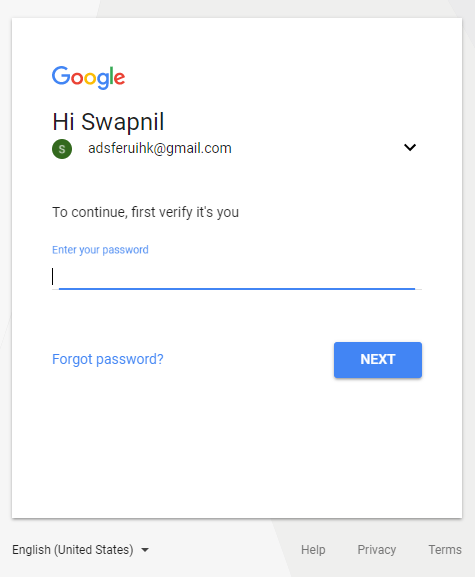
Step 11. After Enter Password you can see screen like this.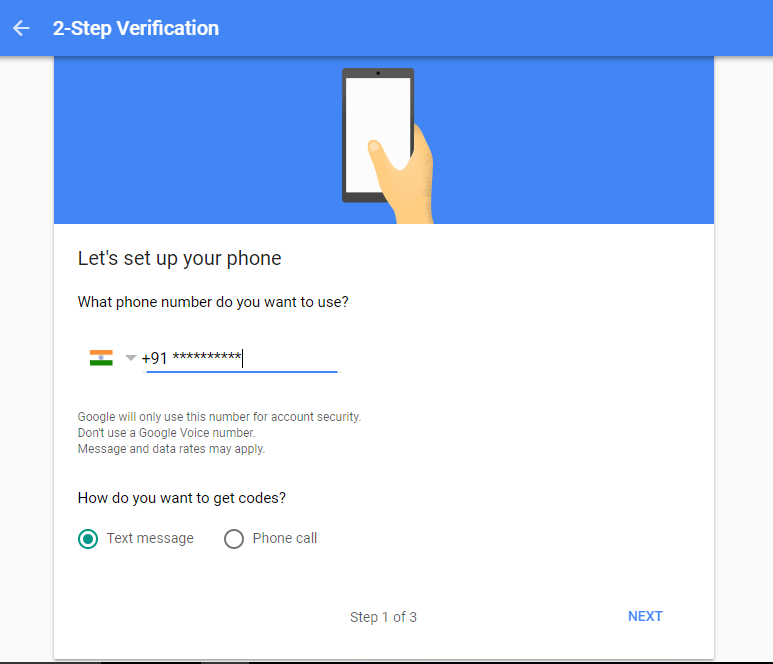
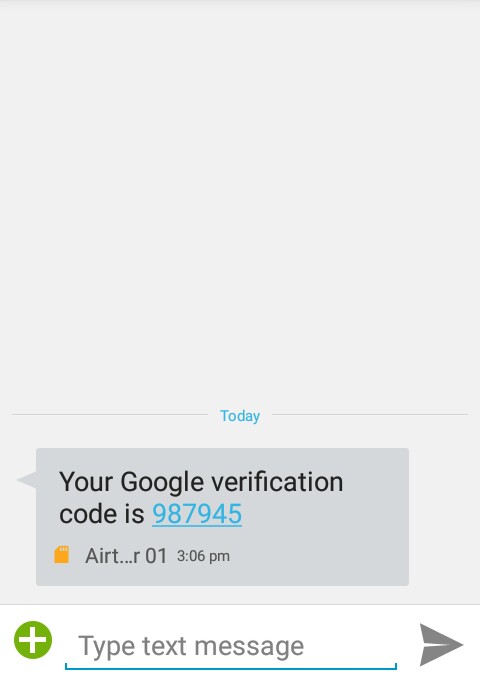
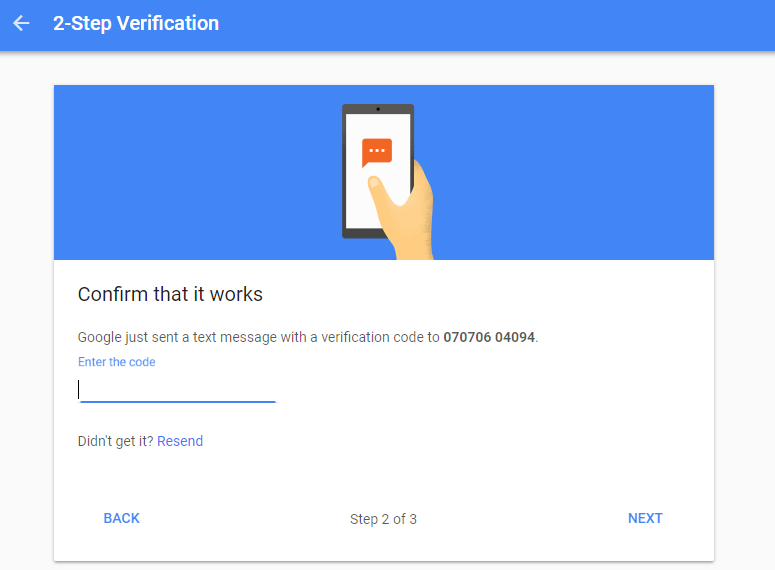
Step 12. Here you can see your registered mobile no. now simply click on Next. Now you get a text message from Google in your mobile. Simply put the code. and click on Next.
Step 13. After enter the code and click on Next you can see a Message that says It worked! Turn on 2-Step Verification?
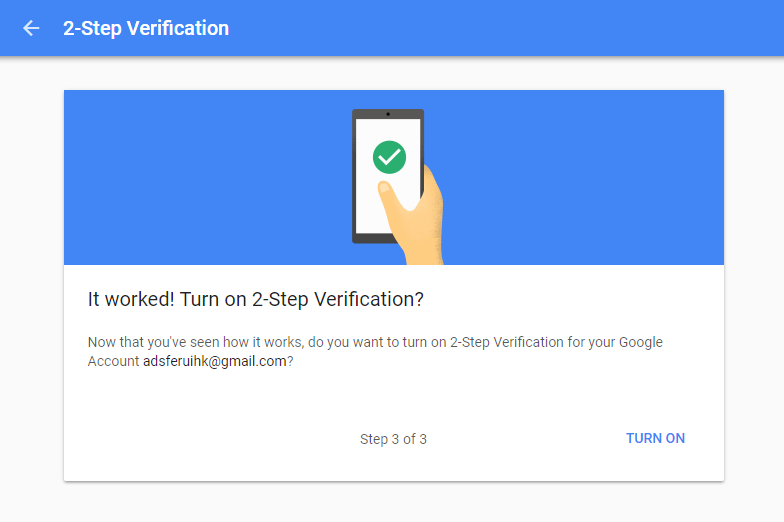
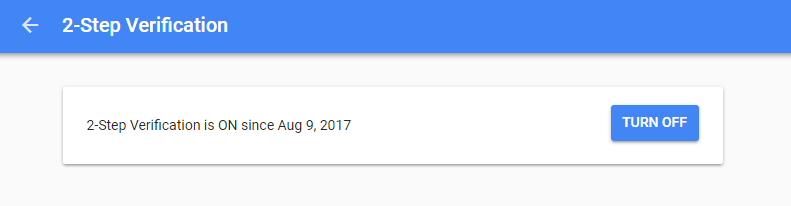
Now Simply Click on TURN ON. and you can see that 2-Step Verification is ON
 ?
?
I hope you like this article that How to Enable Two Factor Authentication in Gmail. and you have learn something new with the help of this article. Please Do Like, Comment and Share if you really like this.
If you have any question regarding this article then you can ask me in the Comment box below.